Understanding the process of Drill Valve Body V38 Repair is crucial for anyone involved in maintenance and repair of drilling equipment.
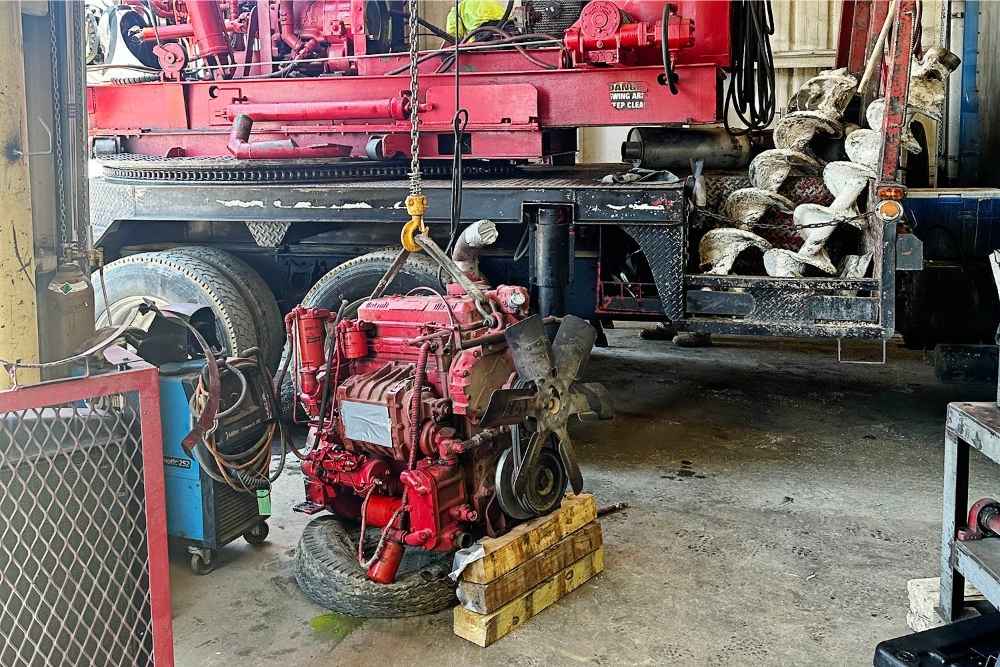
Foundation drilling equipment like the Texoma 600, 500, or 330 rigs rely heavily on well-functioning hydraulics—and one of the most critical components is the V38 valve body. These parts take a beating over the years, and while replacement is an option, proper maintenance and timely repair can significantly extend their lifespan. This guide focuses on the importance of Drill Valve Body V38 Repair for optimal performance.
In this guide, we’ll walk through the disassembly, inspection, and resealing of a V38 valve body, including common issues to watch for and best practices learned from decades of experience in the field.
What is a V38 Valve Body?
The V38 is a control valve that manages fluid movement through key parts of a Texoma rig—namely the winch piston and the Kelly bar piston. These are essential for the rig’s up-and-down movement during drilling operations.
Though there are updated versions on the market, many of these V38 units are 20+ years old, having gone through tens of thousands of cycles. That kind of wear leads to inevitable leaks and performance decline—but many of these can be remedied with a good rebuild.
Essential Steps for Successful Drill Valve Body V38 Repair

Disassembling the V38: Part Identification and Order Matters
Start by removing both pistons—the winch piston and the Kelly bar piston. Keep in mind that the Kelly bar piston is often longer, allowing a pseudo “two-speed” functionality for faster flow and quicker retraction during drilling.
Here’s what you’ll typically find inside, in top-to-bottom order:
- Spring
- Metal Spacer
- Nylon/Teflon Spacer
- Quad Ring
- Bottom Cup
- Additional Quad Ring and Spacer (Top)
- Double Metal Brackets
- Wiper
🔧 Pro Tip: Keep every part in order during disassembly. Even though some components appear identical, it’s best to return them to their exact original position. Consistency prevents premature wear and ensures a tighter rebuild.

Understanding the Piston Differences
While some newer V38 units (especially post-Terex acquisition) have shorter Kelly bar pistons, the older long-stroke design creates better fluid flow, translating to faster operation.
Inside the pistons, you may also find ball bearings and snap rings. In practice, if the bearings fall apart—as they sometimes do—it’s often best to remove them entirely rather than replace. Our team and other experienced techs have seen no performance issues after removing them.
Common Repair Issues: What to Look For
- Roll Pins: Occasionally, a roll pin inside the valve body can back out and interfere with the spring, causing jamming. If this happens, simply drop the cup, locate the pin, and tap it back into place. Later, you can fully remove it and replace or mushroom it out for a tighter fit.
- Piston Health: Look for signs of scoring or deep scratches. While minor wear may look bad, it’s usually manageable. However, excessive wear will cause leaking sooner—even if the function remains intact.
💡 Expected Performance: Even after a full reseal, don’t expect miracles. On these older units, a good rebuild may only buy you 3–6 months before slow leaks return. That’s the nature of 20+ years of drilling wear and tear.
Inspecting and Replacing Flow Regulator Components
Inside the valve body, you’ll find two remaining fittings that act as pressure regulators—governing high vs. low PSI flow. If performance is fine, leave these alone. But if needed, the internal cone or poppet-style tip may need replacement due to long-term wear.
Reassembly Order: Don’t Skip This Step
Rebuilding your V38 valve body? Here’s the correct reassembly order for best sealing:
- Metal Spacer (Bottom)
- Teflon/Nylon Spacer
- Quad Ring
- Insert into the Valve Body
- Top Quad Ring (seal faces hydraulic side)
- Top Spacer
- Double Metal Spacer Brackets + Wiper
- Spring (on top)
Make sure the wider end of the cup sits on top, with the spring seated properly to avoid jamming or internal shifting.
Final Steps: Cleaning and Prep
Before sealing everything back up:
- Wire brush the contact plates (top and bottom)
- Clean all flange fittings and seal seats
- Apply a light coat of hydraulic oil during reassembly
🧼 Clean surfaces are key to getting tight seals and preventing leaks from day one.
A Note on Allen Heads and Adjustments
If your spring system or valve isn’t functioning correctly, you may need to tighten or remove with a 9/16” Allen wrench. In some cases, roll pins or internal nuts can be adjusted without removing the valve body from the rig, allowing for quick fixes in the field.
FnD Piers Tip: Repair vs. Replacement
You can buy a new V38 from Terex—if they still produce them—but between long wait times and high costs, many drillers choose the repair route. While not a permanent fix, rebuilding a V38 can get your rig back in the dirt without breaking the bank.
Need Expert Foundation Drilling Advice?
At FnD Piers, we don’t just repair foundations—we understand the rigs, components, and hydraulics behind the work. Whether you’re diagnosing a problem or looking for real-world fixes, we’re here to help you stay on the job and under budget.
📞 Got equipment questions or need a second opinion?
Give us a call today. (817) 402-7113