Understanding the Helical Pier Installation Steps is crucial for ensuring that your foundation is secure and durable.
Better, Stronger, and Smarter Foundations with FND Piers
When it comes to stabilizing foundations or supporting new construction, helical piers are a fast, reliable, and cost-effective solution. At FND Piers, we specialize in helical pier installations across Texas and the surrounding regions—delivering deep foundation solutions that stand the test of time.
In this post, we walk you through the helical pier installation steps of installing helical piers, so you know exactly what to expect. These innovative solutions not only support structures but also ensure safety and longevity, especially in areas prone to soil instability. In this guide, we will explore various applications of helical piers alongside installation steps to provide a comprehensive understanding.
What Are Helical Piers?
Helical piers (also known as screw piles) are steel shafts with helical flights that are twisted into the ground like giant screws. They transfer the structural load of a building to deeper, more stable soil layers—making them ideal for:
-
- Foundation repairs
- New residential or commercial construction
- Additions and decks
- Retaining walls and boardwalks
Helical piers provide a significant foundation solution for structures built on weak or unstable soils. They are particularly effective in areas that experience significant soil movement, providing a stable base that minimizes the risk of structural damage over time.
Helical Pier Installation Steps
1. Site Evaluation & Engineering Design
The process begins with a detailed site inspection. Our foundation specialists evaluate:
- Soil conditions
- Load requirements
- Structural needs
Then, our engineers design a custom pier layout that determines pier depth, spacing, and capacity.
FND Piers Tip: Accurate soil testing ensures each pier is designed for maximum stability and long-term performance.
2. Marking Pier Locations
Once the design is finalized, we mark the pier locations on-site based on the structural layout. This step ensures each pier is properly aligned to support the foundation or structure.
3. Pre-Drilling (if needed)
In some cases—especially with dense soils—pre-drilling is done to facilitate easier and straighter installation of the helical piers.
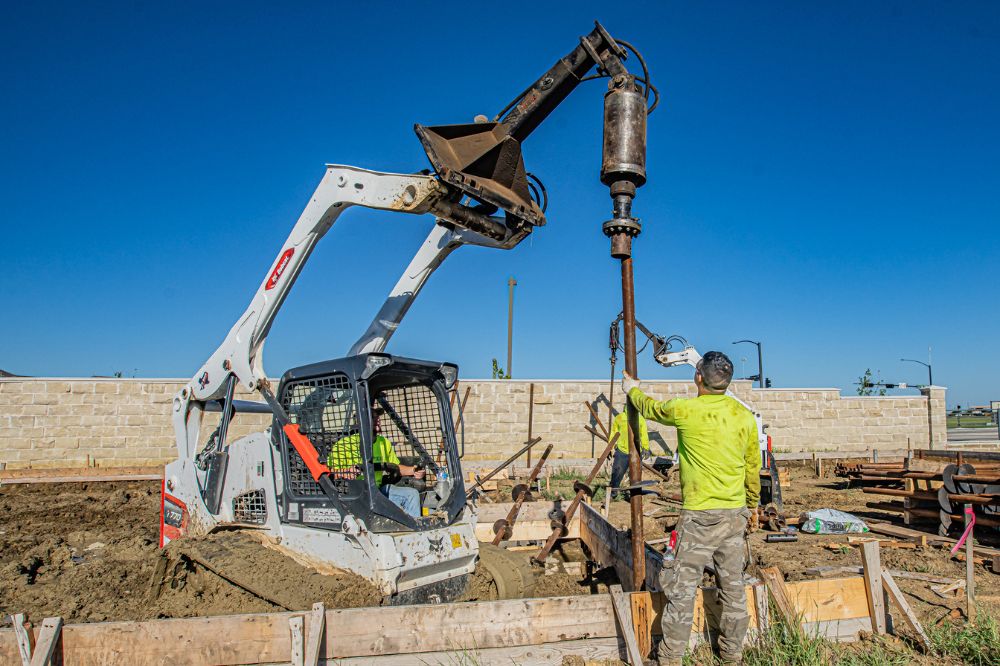
4. Helical Pier Installation
Using hydraulic drive equipment, each pier is screwed into the ground until it reaches the required torque, which indicates load-bearing capacity.
- No excavation
- Minimal vibration
- Instant load-bearing capacity
FND Piers uses state-of-the-art machinery to ensure precise depth and alignment for every pier.
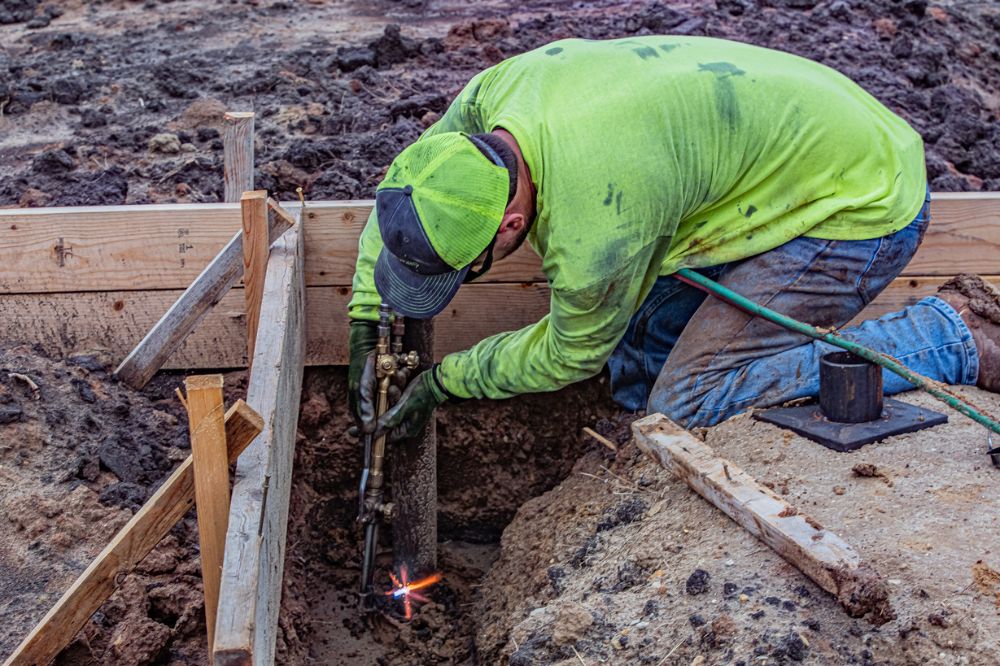
5. Cutting to Elevation
Once the desired depth and torque are reached, the tops of the piers are cut to the required elevation to match the foundation grade.
6. Bracket Installation
We attach foundation brackets to connect the pier to the structure’s footing or slab. These brackets ensure the building load is properly transferred to the pier.
7. Load Testing (if required)
For engineered or high-load projects, load testing may be conducted to verify that the piers meet or exceed the required performance criteria.
8. Final Inspection & Clean-Up
The site is cleaned up and a final inspection ensures that all piers are installed correctly. If part of a foundation repair, lift operations may follow.
Why Choose FND Piers for your Helical Pier Installation?
At FND Piers, we combine years of field experience with the latest helical pier technology to deliver:
- Engineered solutions for every soil type
- Fast, clean, and efficient installation
- Long-term structural stability
- Local expertise and personal service
Whether you’re dealing with foundation settlement or planning new construction, our team will ensure your structure starts with a solid, dependable base.
Ready for a Stronger Foundation?
Contact FND Piers today to schedule a free site evaluation or to learn more about how our helical pier systems can work for your project.
Call (817) 402-7113 today to schedule a free foundation inspection and discover how helical piers can restore the strength and stability of your home or building.