Helical anchors have become one of the most trusted solutions for stabilizing foundations, retaining walls, utility structures, and other applications where soil movement threatens structural integrity. If you’re searching for how to install helical anchors, it’s important to understand that successful installation requires more than simply screwing steel into the ground.
Proper installation involves soil analysis, load calculations, specialized hydraulic equipment, and precise torque monitoring to ensure long-term performance.
At FnD Piers, we use engineered installation methods and professional-grade equipment to ensure helical anchors deliver reliable structural support for years to come.
What Are Helical Anchors?
Helical anchors are steel shafts with one or more helical plates (spiral-shaped bearing plates) attached to them. They are mechanically rotated into the ground until they reach soil capable of supporting the required load.
Helical anchors are commonly used for:
- Foundation stabilization
- Retaining wall support
- Tieback systems
- Utility structures
- Decks and additions
- New construction foundations
- Slope stabilization
Because they can be installed quickly with minimal excavation, helical anchors have become a preferred alternative to many traditional foundation systems.
When Are Helical Anchors Installed?
Helical anchors are typically installed when:
- A foundation is settling
- A retaining wall is bowing or leaning
- Soil conditions are unstable
- Additional structural support is needed
- New construction requires deep foundation support
They are particularly effective in areas with expansive clay soils, poor load-bearing soils, or fluctuating moisture conditions.
Step 1: Conduct a Site Evaluation
Before installation begins, the site must be evaluated.
This includes:
Soil Conditions
Understanding:
- Soil type
- Moisture content
- Bearing capacity
- Potential obstructions
Structural Loads
Determining:
- Building weight
- Load distribution
- Required anchor capacity
A proper evaluation ensures the anchor system is designed correctly for the project.
Step 2: Determine Anchor Location and Layout
Once the evaluation is complete, the installation plan is developed.
This includes:
- Anchor spacing
- Anchor depth expectations
- Connection details
- Structural attachment points
Proper layout is critical because incorrect spacing can reduce the effectiveness of the system.
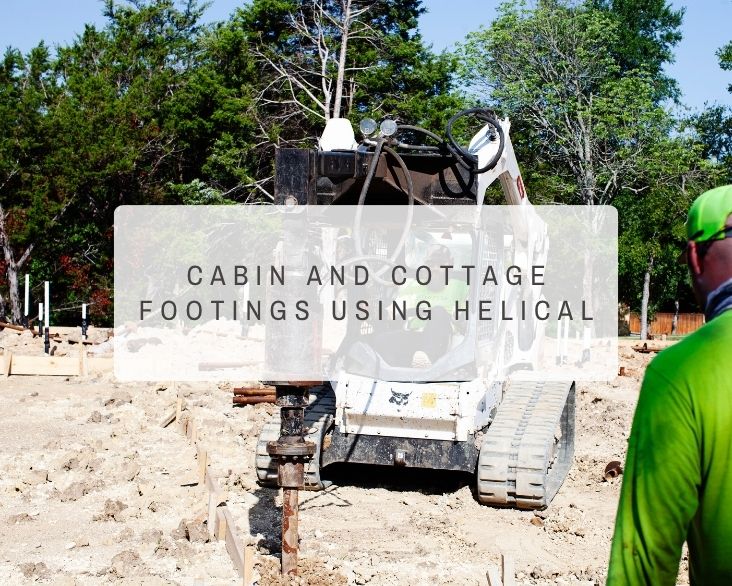
Step 3: Mobilize Helical Anchor Installation Equipment
Installing helical anchors requires specialized equipment, including:
Hydraulic Drive Motors
These provide the rotational force necessary to advance the anchor into the ground.
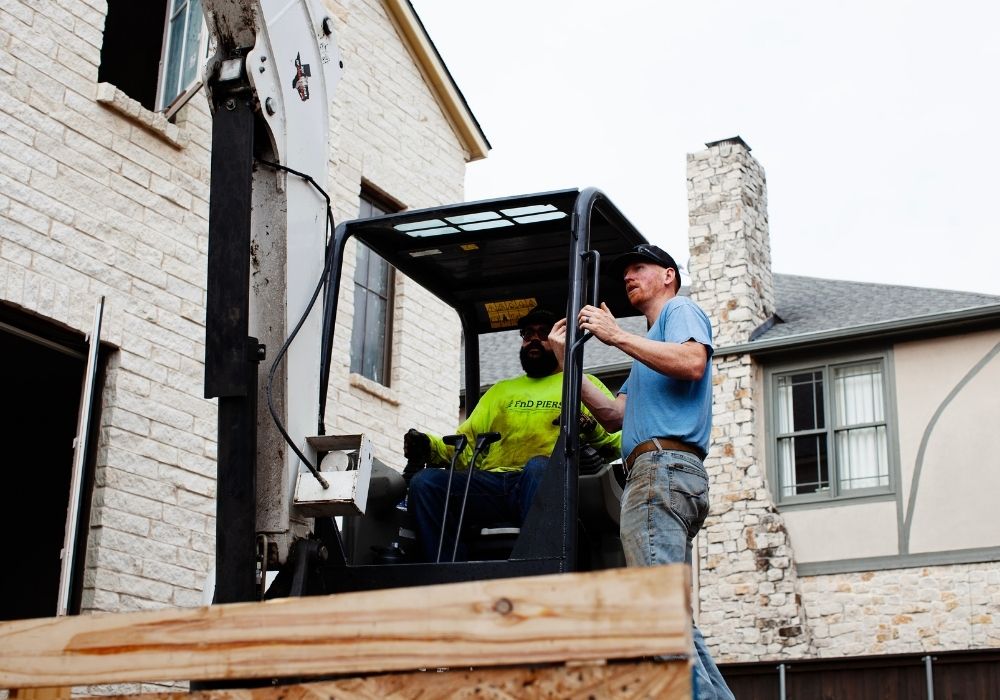
Excavators or Skid Steers
Used to position and operate the drive head.
These systems measure installation torque and help verify load capacity during installation.
Professional-grade equipment ensures consistent installation and accurate performance verification.
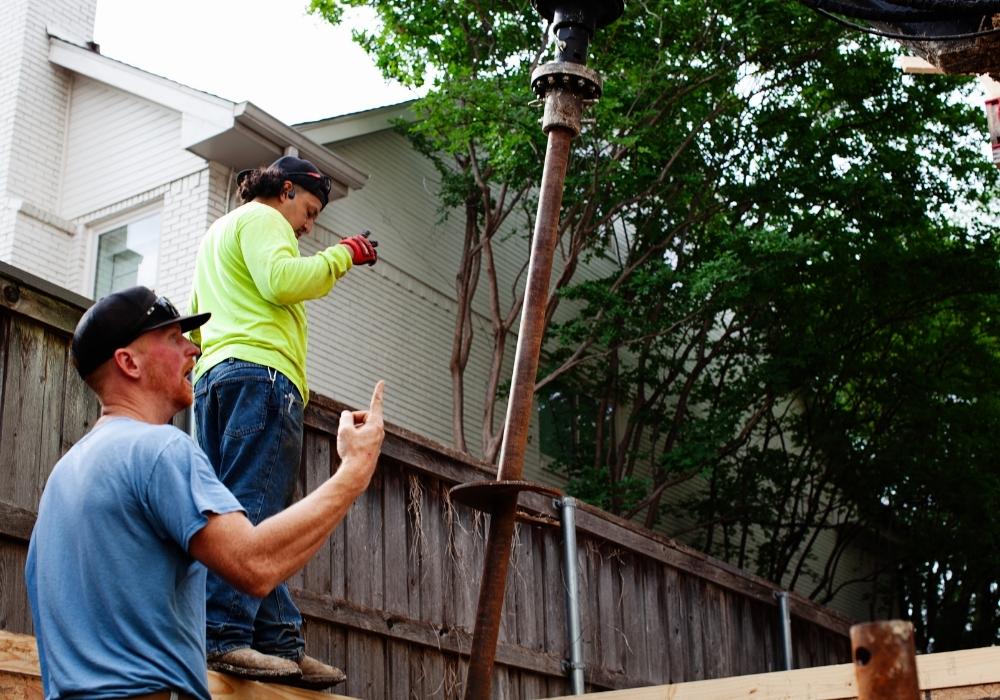
Step 4: Install the Lead Section
The lead section contains the helical plates that engage the soil.
The installer:
- Positions the anchor vertically or at the specified angle.
- Engages the hydraulic drive motor.
- Begins rotating the anchor into the soil.
Unlike driven piles, helical anchors are advanced through rotation rather than impact.
This reduces vibration and minimizes disturbance to surrounding structures.
Step 5: Add Extension Sections
As the lead section advances deeper into the ground, extension shafts are added.
Extensions allow the installer to:
- Reach deeper bearing strata
- Achieve required load capacity
- Bypass weak upper soil layers
The installation continues until the target torque is achieved.
Step 6: Monitor Installation Torque
One of the most important parts of helical anchor installation is torque monitoring.
Why Torque Matters
Installation torque is directly related to load capacity.
As torque increases:
- Soil resistance increases
- Load-bearing capacity increases
Professional installers continuously monitor torque throughout the installation process.
This provides real-time verification that the anchor can support the required structural loads.
Step 7: Verify Final Capacity
Once the target depth and torque are achieved, the installation is reviewed.
The installer verifies:
- Required torque has been reached
- Anchor alignment is correct
- Engineering requirements are satisfied
- Structural capacity has been achieved
This step is critical to ensuring long-term performance.
Step 8: Connect the Helical Anchor to the Structure
After installation, the anchor is connected to the structure using engineered brackets or attachment systems.
Examples include:
Foundation Brackets
Used for underpinning and foundation stabilization.
Wall Anchors
Used for retaining walls and earth retention systems.
Structural Connections
Used for decks, additions, and new construction.
The connection transfers loads from the structure to the anchor system.
Common Installation Mistakes to Avoid
Improper installation can lead to:
- Insufficient load capacity
- Premature settlement
- Structural movement
- Anchor failure
Common mistakes include:
- Installing without torque monitoring
- Inadequate depth
- Improper alignment
- Incorrect anchor spacing
- Using underpowered equipment
This is why professional installation is essential.
Why Professional Installation Matters
Although the installation process may appear straightforward, successful helical anchor installation requires:
- Soil knowledge
- Engineering considerations
- Specialized equipment
- Load capacity verification
- Experienced operators
At FnD Piers, our installation teams follow proven procedures that ensure every helical anchor is installed to meet structural requirements and project specifications.
Advantages of Helical Anchors
Properly installed helical anchors provide several benefits:
Fast Installation
Many projects can be completed in a single day.
Minimal Excavation
Less disruption to landscaping and surrounding structures.
Immediate Load-Bearing Capacity
No waiting for concrete curing.
Year-Round Installation
Can often be installed regardless of weather conditions.
Long-Term Stability
Provides reliable support in challenging soil conditions.
Why Choose FnD Piers?
At FnD Piers, we combine engineering-driven design with professional installation practices to deliver dependable foundation solutions.
Our team provides:
- Foundation evaluations
- Helical anchor installation
- Foundation stabilization
- Retaining wall support systems
- New construction foundation solutions
We focus on delivering long-term performance, not temporary fixes.
Final Thoughts: Proper Installation Determines Long-Term Performance
Understanding how to install helical anchors helps property owners appreciate why professional installation matters.
The process involves much more than simply advancing steel into the ground. Proper design, torque monitoring, equipment selection, and structural connections all play a critical role in the success of the system.
When installed correctly, helical anchors provide one of the most reliable and efficient foundation support solutions available today.
Need a foundation stabilization solution you can trust?
Contact FnD Piers today to schedule a professional evaluation and learn how our helical anchor systems can provide lasting support for your home, building, or construction project.
Call (817) 402-7113 Today.