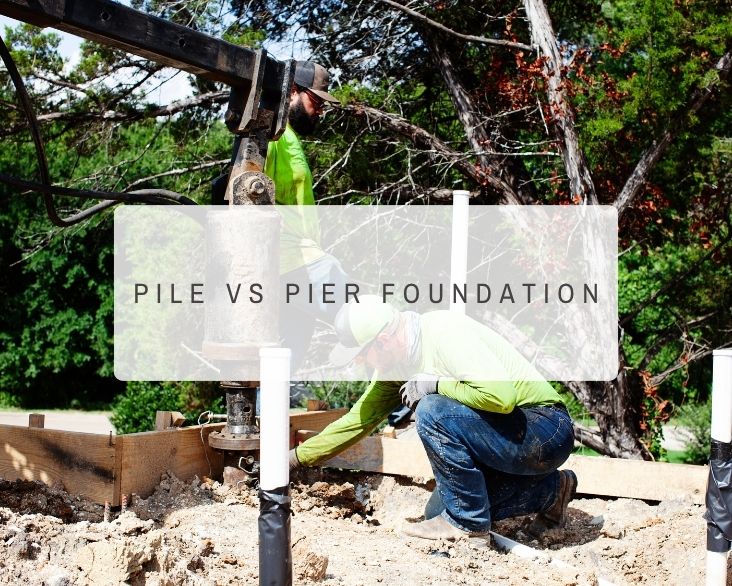
Pile vs Pier Foundation: Which Foundation System Is Right for Your Project?
When planning a new construction project or addressing foundation challenges, one of the most important decisions is choosing the right
Drilling a slurry hole might sound like a highly technical or intimidating process, but once you understand how it works, it’s actually pretty straightforward. At FnD Piers, we believe in being transparent and informative with our clients, whether you’re a general contractor, builder, or just someone looking to understand the service you’re booking.
In this guide, we’ll walk you through the complete process of drilling a slurry hole—step-by-step—exactly the way we do it in the field.
We start by opening up the shaft to 28 inches. This is a critical step because we’re eventually going to be placing a 26-inch pipe into the ground, and we need that extra space for clearance. Think of it like digging a hole for a fence post—you always dig a slightly larger hole than the post to make installation easier and more secure.
The extra two inches allows us to penetrate the pipe 24 inches into the surrounding soil and ensure it fits snugly while leaving room for the slurry to do its job. At this point in the process, we’re just drilling through dirt, getting everything prepped for the more technical parts to come. You’ll usually see a lot of dry soil coming up, and this is the “easy” part of the dig.
Once we’ve drilled down to around 21 feet, we usually start pulling up wet sand and even some standing water. That’s when things get tricky. In these conditions, the hole will no longer stay open on its own. The sides begin to collapse in, almost like a sandcastle that’s too close to the tide. There’s just not enough structural integrity in the soil to keep the hole intact.
This is why we switch to a slurry system. Without it, we’d constantly be re-digging the same depth over and over as the sides cave in. We need a way to hold the hole open long enough to finish the job properly and safely.
The solution? Head pressure. We fill the hole up to the very top with a mixture of water and bentonite. Bentonite is a naturally occurring clay-like substance that swells when mixed with water—about 10 times its original size. It’s used widely in drilling because it creates a gel-like, slick mixture that coats the walls of the hole.
This coating is called a wall cake, and it has two purposes:
This head pressure pushes against the collapsing material, effectively creating a temporary structure that stabilizes the hole.

Now that we’ve filled the hole with water and bentonite, it’s time to mix it properly. We do this by reverse drilling. That means we rotate the auger—essentially a large industrial drill—in reverse, and keep it just below the surface of the slurry. This creates a churning or whisking effect, helping the bentonite fully blend into the water.
The mixing process is crucial. If you have pockets of just water or just bentonite, the wall cake won’t form consistently, and the stability of the hole can be compromised. The person operating the ground controls (sometimes called the “ground hand”) plays a key role here by ensuring the auger stays at the correct depth during mixing.
As we continue drilling, it’s important to maintain the slurry levels. When we remove material—sand, water, bentonite—using the mud bucket, we’re displacing volume that must be replenished immediately. Otherwise, the head pressure drops, and the walls can start to collapse again.
So, we keep topping off the hole as we dig. The idea is that every time we take a “bite” of material with the auger or mud bucket, we also add slurry back in. This allows us to make real progress—not just digging 21 feet and finding ourselves back at square one—but digging one to one and a half feet deeper with each bite. If done properly, this step-by-step progress will take us cleanly down to the target depth.
Once we reach 30 feet, we hit load-bearing soil—in this case, a layer of blue shale. This is a good sign because it means we’ve reached the structurally sound ground the customer specified. The slurry is still doing its job here, keeping everything stable.
At this point, it’s time to install the casing. We’ve got a 28-inch hole, and we’re going to install a 26-inch pipe that is 32 feet long. Because our penetration started at 30 feet, the pipe will stick out slightly above ground—exactly as planned.
Thanks to the bentonite slurry, inserting the pipe is relatively easy. That’s because bentonite makes everything extremely slick—kind of like drilling into slime. The pipe slides down with little resistance, and this same slickness helps later if we need to pull the pipe back out.
You’ll notice markings like “26 inch” on the spinner bar—this tells us the size of the pipe being installed. The spinner bar is what helps rotate and guide the pipe as it’s being installed vertically into the ground.
Sometimes you’ll run into a little resistance even with the bentonite, but usually it just takes a few more hammer taps to get it set.
Once the pipe is in place, we use our mud bucket to go back down inside it. We’re not drilling just yet—we’re just cleaning out any remaining sand, slurry, or loose cuttings inside the pipe. This makes the next stage easier and helps prevent clogging.
At this point, we’ll also pump the hole—removing most of the water and slurry from inside the pipe. This step preps the area for the final penetration into the load-bearing soil.
Once the pipe is cleaned and most of the slurry is pumped out, we continue drilling—but this time with a smaller 24-inch auger. The casing pipe now helps hold the sides of the hole in place, and we’re drilling within that contained environment.
The first couple of auger bites tend to be messy. There’s still some extra water and slurry mixing with the soil, but after a few passes, it clears up. You’ll notice you start bringing up more solid material as the process continues.
In this particular job, the customer wanted us to install a 60-foot rebar cage into a 46-foot hole. That leaves a bit of excess cage sticking out of the ground, which is intentional and often necessary depending on the design.
Setting the cage is one of the most delicate parts of the job. The rungs can break if you go too fast, and workers often have to guide it in carefully—sometimes with arms through the cage to position the rollers. We always take our time here to ensure safety and accuracy.
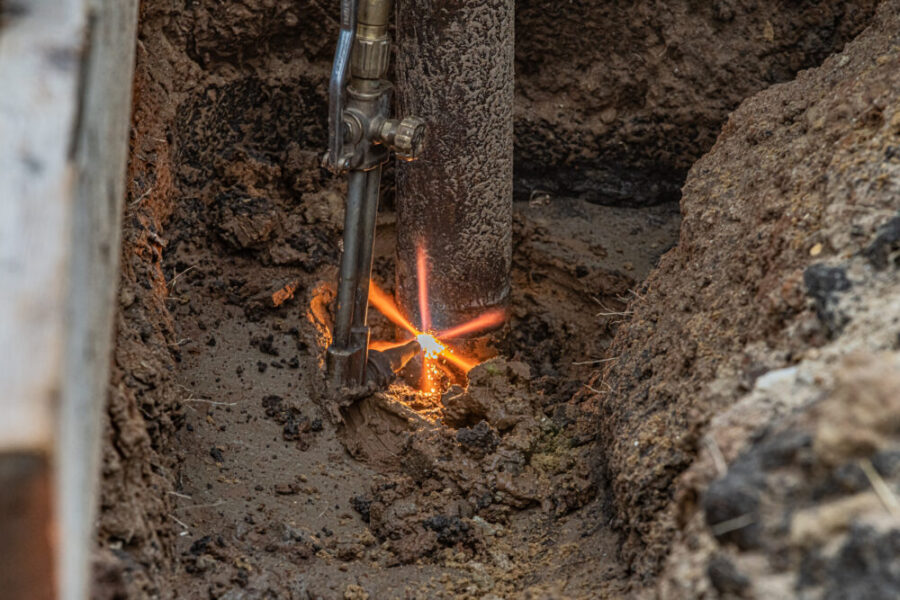
Once the cage is set, we start pouring concrete into the bottom of the hole. When the concrete rises to about 5 to 10 feet above the bottom of the pipe, we break the seal between the pipe and the surrounding hole. We usually do this by lifting the pipe up 3 to 4 feet.
Breaking the seal is important because if you wait too long, the concrete can harden around the pipe, making it nearly impossible to remove. In some cases, it becomes a permanent casing—not ideal unless it was designed that way.
After breaking the seal, we pour the rest of the concrete and begin the process of pulling the pipe out. Depending on the soil and slurry conditions, this can be easy—or it can be a fight. In this case, it took some effort, but we got it done.
And there you have it—that’s the complete slurry hole drilling process, from opening the shaft all the way to setting the cage and pouring the concrete. It’s not something you rush. Every stage has to be done with care and precision to make sure the hole remains stable and everything goes according to plan.
At FnD Piers, we take pride in doing the job right, and we hope this behind-the-scenes walkthrough gave you some insight into what we do. Whether you’re booking your first pier or just curious about the process, we’re here to help answer any questions.
Thanks for following along!
When planning a new construction project or addressing foundation challenges, one of the most important decisions is choosing the right

If you’re selling a house with issues, one of the biggest concerns is how those issues will impact buyer confidence,